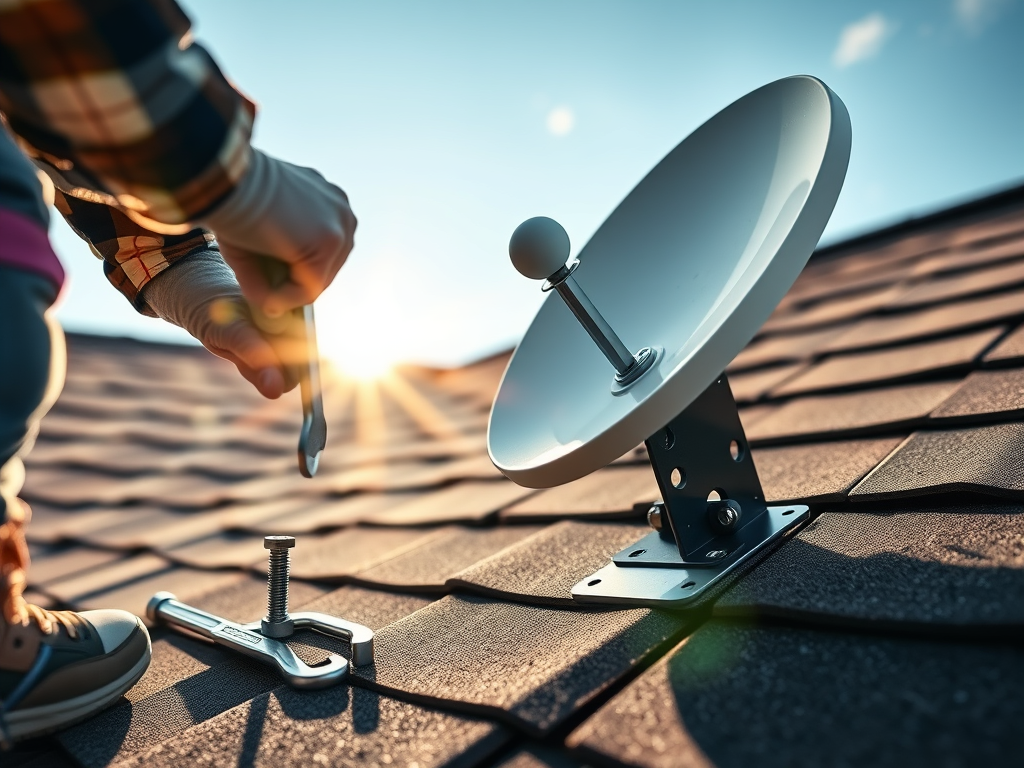
Introduction: Elevating Your Starlink Mini Performance
Your Starlink Mini sits on the roof peak right now, just balanced there like a bird on a wire. It works okay, but wind shakes it, and the signal dips. A real mounting bracket changes that fast.
The Need for a Dedicated Mount
Temporary spots limit your dish’s view of the sky. Poor position means weak speeds and dropouts. This bracket sticks out strong, gives clear sky access, and holds firm.
Pro users swap haywire setups for these mounts. They boost uptime. No more chasing signal ghosts.
Why Proper Installation Matters for Mini Users
The Mini packs power in a small dish. But it needs exact aim for top speeds. In tough spots like trees or roofs, bad mounts kill your stream or call.

Get it right, and you lock in reliable net. Think video calls that don’t freeze. Or downloads that fly.
Section 1: Unboxing and Preparation: What’s in the Kit?
Rip open the box. You find the bracket, big lag bolts, a drill bit, and a 10mm wrench. It’s all you need for a solid job.
Inventory Checklist: Tools and Components
- Mounting bracket with pipe slots
- Lag bolts for deep grip
- Drill bit to chew through roof wood
- 10mm metric wrench for tight fits
Check each piece. Missing one slows you down. Grab extras if your kit looks light.
Safety gear tops the list too. Gloves stop slips. Helmet guards your head on ladders.
Initial Assessment: Pre-Installation Inspection
Eye your roof spot first. Metal? Wood? Note ice or slick spots. Plan your ladder path.
Test the bracket parts. Wiggle joints. They must lock tight up high.
Wear boots with grip. Slow moves beat fast falls. Nobody wins a rush job.
Section 2: Removing the Existing Starlink Mini Dish
Time to pull the dish down safe. No tugs on cables. Keep power off first.
Safely Disconnecting Power and Cable
Climb slow with two ladders. Bridge the gap easy. Unplug the cable at the dish end.
Lower it gentle. Ice hides under snow sometimes. Grip firm, step sure.
Cable stays connected below. No cuts needed yet.
Detaching the Mini Dish from its Base
Find the release tab on the dish base. Squeeze it hard. Lift as you pull the leg free.
It pops from notches clean. Like a Lego brick. Dish comes off smooth now.
Set it aside safe. Wipe dirt from ports. Clean start for the new mount.
Section 3: Assembling the New Starlink Mini Bracket
Build the bracket on ground first. Less hassle than mid-roof. Cable goes through right.
Prepping the Bracket Base for Wiring
Thread the Starlink cable in. Push from top, out the bottom hole. Then snag it through the side notch.
Pull slack smooth. No kinks pinch signals later. Test the fit loose.
This path hides wire neat. Protects from weather bites.
Securing the Upright Pipe Adapter
Slide the pipe into the base slot. Grab the 10mm wrench. Tighten those bolts snug.
It holds the dish high. Leave set screws loose for now. Angle tweaks come next.
Wrench turns easy on metric heads. No strips if you go slow.
Customizing Clearance for Roof Mounting
Metal roofs snag sometimes. Cut conduit pipe short—one and a half inches works. Stands the bracket off clear.
Saw it clean. Slip over bolts. Keeps base from scraping.
Your roof sets the cut. Test fit dry first. Adjust as needed.
Section 4: Mounting the Bracket to the Structure
Hoist it up now. Drill holes true. Lag bolts bite deep.
Anchoring the Bracket with Lag Bolts
Mark spots even. Drill pilot holes with the bit. Drive lags home hard.
They sink like teeth in wood. Twist till flush. Rock solid base.
Two or four bolts? Match your load. Wind tests weak holds quick.
Inserting the Dish Mount Pipe
Push the upright pipe in place. It slides sweet into the bracket. Set screws wait loose.
Height matches your app needs. Eye level skyward. No blocks in view.
Wiggle test it. Stays put till you say.
Section 5: Final Dish Installation and Crucial Alignment
Dish goes back up. Slide and lock. App checks the aim.
Placing the Starlink Mini onto the New Mount
Lift the dish high. Fit it on the pipe top. It seats with a click.
Bolt secures it down. Tabs line up perfect. No wobbles here.
Cable snakes through clean. Plug snaps firm.
Achieving Optimum Angle Using the Starlink App
Open the app now. Tap alignment tool. It shows the sweet spot tilt.
Loosen set screws. Nudge till green. Tighten back firm.
App talks true. No guesswork wastes time.
Verifying Signal Performance
Hit refresh. See “Starlink is aligned.” Dish points dead on.
Speeds spike right up. No more hunt. Test a stream.
Green means gold. Your net flies steady.
Conclusion: Solid Installation Equals Solid Internet
You nailed a pro mount. Dish sticks out strong. Signal stays locked.
Key Takeaways for a Successful Bracket Install
Safety rules every step. Cable routes hide neat. Bolts grip like iron.
App alignment seals it. Skip that, lose speed. Test twice, tight once.
Custom cuts fit your roof. One size fails all.
Next Steps and Resources
Fire up your net. Stream free now. Grab this bracket from the link below.
Share your install pics. Questions? Drop a comment. Keep dreaming big—solid net fuels it.
Get Your Starlink Mini Mounting Bracket Here
This setup beats temp fixes every time. Reliable speeds change your day. Install today, connect tomorrow.
Leave a Reply