
The Complete Guide to Foraging and Pressing Your Own Cooking Oils
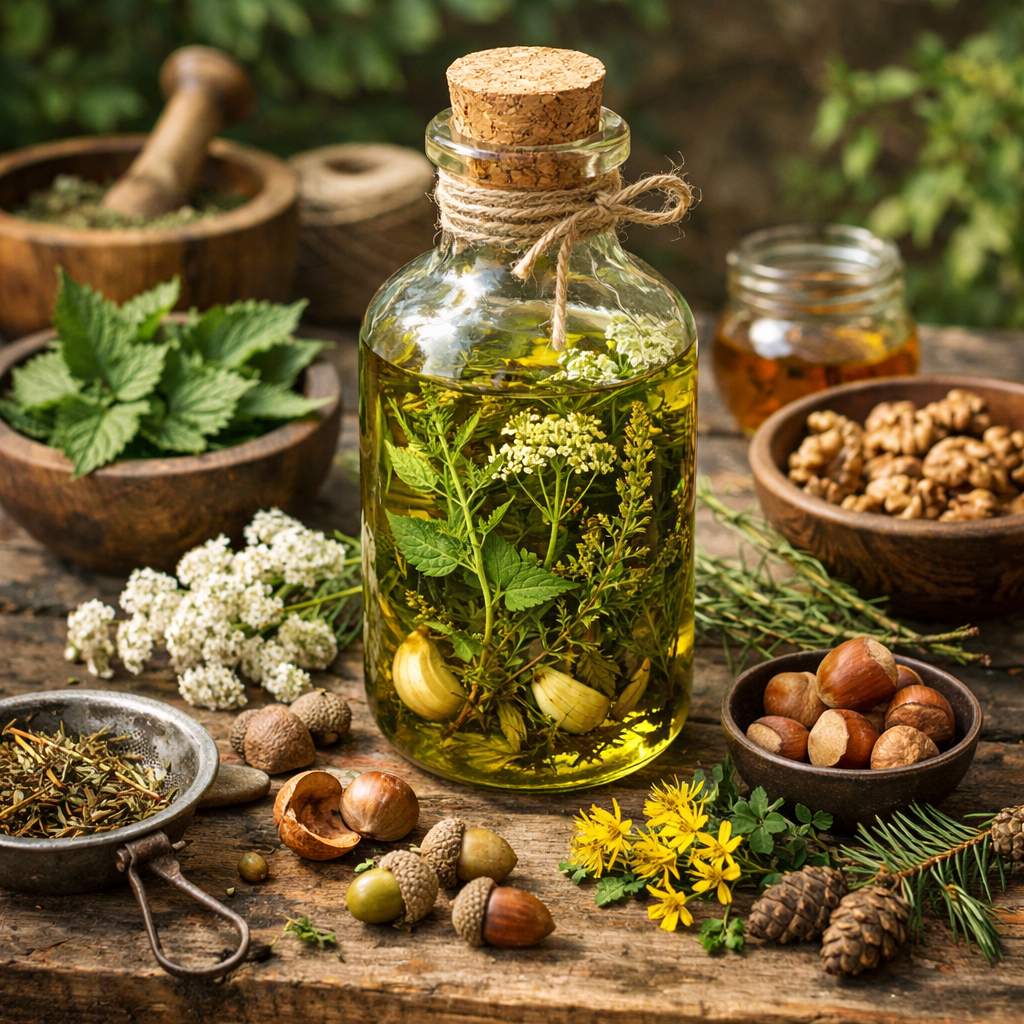
Making your own cooking oils from foraged plants, seeds, and nuts gives you complete control over what goes into your kitchen. This comprehensive guide is perfect for homesteaders, sustainability enthusiasts, and anyone who wants to create pure, chemical-free oils from nature’s bounty.
You’ll discover how to safely identify and harvest oil-rich plants in your area while avoiding common mistakes that beginners make. We’ll walk you through the essential equipment needed for oil extraction and share proven methods for getting maximum oil yield from your foraged materials.
From proper cleaning techniques to professional-grade pressing processes, you’ll learn everything needed to produce high-quality cooking oils at home. We’ll also cover crucial safety protocols for plant identification and proper storage methods to keep your homemade oils fresh for months.
Essential Tools and Equipment for Oil Extraction
Identifying and Harvesting Oil-Rich Plants Safely

Top Wild Plants with High Oil Content
Sunflower seeds offer some of the highest oil yields among wild plants, containing 40-50% oil by weight. These towering beauties grow along roadsides and in abandoned fields throughout late summer. Wild hazelnuts produce nuts with 60% oil content and thrive in woodland edges and stream banks. Black walnut trees provide nuts containing 59% oil and are easily identified by their distinctive compound leaves and dark bark.
Acorns from white oak species contain 5-10% oil and can be found in abundance during fall months. While lower in oil content, their sheer availability makes them worthwhile for small-batch pressing. Wild rose hips contain seeds with 15-20% oil content and offer the bonus of vitamin C-rich flesh.
Elderberries grow wild across North America, and their seeds contain about 20% oil. The berries ripen from late summer into early fall and can be processed whole. Wild grape seeds, typically discarded, actually contain 10-15% oil and can be collected after making juice or wine.
Pine nuts from pinyon pines contain an impressive 60-70% oil content. These trees grow primarily in the southwestern United States and produce cones every 2-3 years. Beechnuts offer 50% oil content and fall naturally from trees in autumn, making collection straightforward.
Seasonal Timing for Maximum Oil Yield
Oil content in seeds and nuts peaks at specific times during the growing season. Understanding these windows maximizes your harvest efficiency and oil quality.
Late Summer (August-September)
- Sunflower seeds reach peak oil content when the back of the flower head turns brown
- Elderberries should be collected when fully purple-black and slightly soft
- Wild grape seeds are ready when grapes reach full sweetness
Early Fall (September-October)
- Hazelnuts drop naturally when oil content peaks at 60-65%
- Acorns should be gathered immediately after falling to prevent rancidity
- Rose hips develop maximum seed oil after the first light frost
Late Fall (October-November)
- Black walnuts reach optimal oil content when the outer husk softens and blackens
- Beechnuts fall naturally when oil levels are highest
- Pine nuts should be collected when cones open but before seeds disperse
Timing Indicators:
- Seeds rattle inside dry pods or hulls
- Nuts fall naturally from trees
- Fruits develop full color but remain firm
- Morning dew doesn’t affect collection quality
Test a small sample by cracking open a few seeds or nuts. Mature specimens show plump, firm kernels with no shrinkage or dark spots.
Sustainable Harvesting Techniques That Protect Nature
Responsible foraging preserves plant populations for future generations while maintaining ecosystem balance. Take only what you need and leave plenty for wildlife and natural regeneration.
The 1/3 Rule
Never harvest more than one-third of available seeds or nuts from any single plant or area. This leaves enough for the plant’s reproduction cycle and provides food for wildlife. When collecting acorns, take only from areas where dozens have fallen, leaving the majority scattered.
Rotation System
Create a mental or physical map of your foraging locations and avoid harvesting from the same spots year after year. Allow 2-3 years between heavy harvests from specific trees or plant colonies. This gives populations time to recover and prevents overstressing individual plants.
Gentle Collection Methods
- Gather fallen nuts rather than shaking trees or beating branches
- Use scissors or pruners instead of pulling when collecting berries
- Avoid damaging roots when harvesting from shrubs or small plants
- Collect during dry weather to prevent spreading plant diseases
Habitat Protection
Stay on established paths when possible to avoid trampling native vegetation. Don’t create new trails to reach foraging spots. Clean your tools between locations to prevent transferring plant pathogens. Remove any invasive species you encounter, but leave native plants undisturbed.
Support the ecosystem by scattering some seeds in suitable habitat areas. This helps establish new plant colonies and expands natural populations.
Avoiding Toxic Look-Alikes and Dangerous Areas
Plant identification errors can be deadly when foraging for oil-rich seeds and nuts. Several toxic plants closely resemble valuable oil sources, making careful identification essential.
Dangerous Look-Alikes:
- Pokeweed berries vs. elderberries: Pokeweed has pink stems and grows in grape-like clusters on thick stalks
- Horse chestnuts vs. edible chestnuts: Horse chestnuts have glossy, bitter nuts with smooth shells
- Bittersweet nightshade vs. wild grapes: Nightshade has pointed leaves and grows as a vine with bright red berries
Location Hazards to Avoid:
- Roadsides with heavy traffic (petroleum contamination)
- Industrial areas or near factories (chemical pollution)
- Agricultural fields (pesticide/herbicide exposure)
- Flood zones or wetlands (heavy metal accumulation)
- Private property without explicit permission
Safe Identification Practices:
Use multiple field guides and cross-reference identifying features. Never rely on a single characteristic like leaf shape or berry color. Take clear photos from multiple angles and consult local botanical experts or extension offices when uncertain.
Learn the growth patterns and habitats of target plants. Elderberries grow in wet areas with compound leaves, while wild grapes prefer sunny woodland edges with heart-shaped leaves. Understanding these preferences helps distinguish between similar species.
Start with easily identified plants like sunflowers and black walnuts before attempting to harvest more challenging species. Build your identification skills gradually and always err on the side of caution.
Proven Methods for Extracting Maximum Oil from Seeds and Nuts
Step-by-Step Oil Pressing Process for Professional Results

Setting Up Your Workspace for Efficiency
Creating the perfect workspace for oil pressing makes all the difference between a messy, frustrating experience and a smooth, professional operation. Start by choosing a well-ventilated area with good drainage, as oil extraction can get messy and produces some odors. A garage workshop or dedicated kitchen corner works best.
Organize your tools in order of use: cleaning stations, pressing equipment, filtering materials, and storage containers. Keep cleaning supplies within arm’s reach, including food-grade sanitizer, lint-free cloths, and paper towels. Position your press on a stable surface at comfortable working height to prevent back strain during longer sessions.
Set up three distinct zones: preparation (for cleaning and prepping seeds), extraction (your press and immediate tools), and finishing (filtering equipment and storage containers). This assembly-line approach prevents cross-contamination and keeps workflow moving smoothly.
Install proper lighting over your work area – oil pressing requires attention to detail, especially when monitoring color changes and consistency. Have a scale nearby for measuring yield, and keep a notebook handy to track pressing parameters for future reference.
Cover your work surface with food-grade plastic sheeting or parchment paper for easy cleanup. Position waste containers strategically to catch spent materials without interrupting your workflow.
Temperature Control for Maximum Extraction
Temperature plays a crucial role in oil yield and quality. Cold pressing at room temperature (65-75°F) preserves the most nutrients and flavor compounds, producing premium oils with longer shelf life. However, warming seeds slightly increases oil flow without damaging beneficial compounds.
For optimal results, pre-warm oil-rich seeds to 100-110°F using a food dehydrator or low oven. This gentle warming reduces oil viscosity, allowing it to flow more freely from crushed materials. Never exceed 120°F, as higher temperatures destroy delicate nutrients and create off-flavors.
Monitor pressing chamber temperature using an infrared thermometer. Hydraulic and screw presses generate heat through friction, so work in short bursts to prevent overheating. If temperatures climb above 110°F, pause pressing and allow equipment to cool.
Different seeds respond uniquely to temperature. Sunflower and safflower seeds benefit from slight warming, while delicate seeds like flax perform better at room temperature. Nuts like walnuts and pecans press more efficiently when slightly warmed but become bitter if overheated.
Create a temperature log for each batch, noting ambient temperature, pre-warming duration, and final oil temperature. This data helps you fine-tune your process for maximum extraction while maintaining oil quality.
Filtering and Purification Techniques
Raw pressed oil contains plant particles, moisture, and other impurities that affect flavor, appearance, and storage life. Proper filtering transforms cloudy, sediment-laden oil into clear, professional-quality cooking oil.
Start with coarse filtering using cheesecloth or a fine-mesh strainer to remove large particles immediately after pressing. This initial step prevents sediment from settling and becoming harder to remove later.
Follow with gravity settling in tall, narrow containers for 24-48 hours. Allow sediment to settle naturally, then carefully decant clear oil from the top. This passive method removes fine particles without additional equipment.
For crystal-clear oil, use coffee filters or purpose-made oil filter papers. Work slowly – rushing this step creates turbulence that redistributes settled particles. Some oils may require multiple filter passes for optimal clarity.
Paper filtration also removes trace moisture that can cause rancidity. Change filters when flow slows significantly or when they become clogged with particles. Clean glass containers between filtering stages to prevent recontamination.
Store filtered oil in dark glass bottles, leaving minimal headspace to reduce oxidation. Label each batch with pressing date, filtering method, and source material for quality tracking.
Troubleshooting Common Pressing Problems
Low oil yield often stems from improper seed preparation. Seeds must be properly dried (8-10% moisture content) and sized correctly for your equipment. Oversized pieces jam presses while undersized materials slip through without proper compression.
Oil that flows slowly or stops completely usually indicates temperature or moisture issues. Check that seeds are at proper temperature and pressing chamber isn’t overheating. Clean equipment thoroughly, as old oil residue can clog passages.
Dark, bitter oil results from overheating during pressing or using damaged seeds. Lower pressing pressure, work in shorter intervals, and inspect raw materials for mold or rancidity before processing. Sometimes slowing down produces better results than forcing the process.
Foamy or cloudy oil indicates moisture contamination or pressing chamber contamination. Ensure seeds are properly dried and equipment is completely clean and dry before use. Some naturally occurring enzymes also create foaming – this settles during filtering.
Equipment jamming happens when material is too coarse, moisture content is wrong, or pressing chamber needs cleaning. Stop immediately when resistance increases suddenly. Clear the jam completely before continuing, as forcing can damage equipment.
Inconsistent oil flow suggests uneven seed size or varying moisture content within your batch. Screen materials more carefully and ensure uniform drying. Keep detailed records to identify patterns and refine your preparation methods.

Making your own cooking oils from foraged materials gives you complete control over quality while connecting you to traditional food practices. You’ll save money, know exactly what goes into your oils, and discover unique flavors that store-bought versions simply can’t match. The process demands patience and the right equipment, but the reward of pure, fresh oil pressed from plants you harvested yourself makes every step worthwhile.
Start small with easily identifiable plants like sunflowers or black walnuts, master the basic pressing techniques, and gradually expand your foraging knowledge. Remember that proper identification, thorough cleaning, and careful storage will determine your success. Your kitchen can become a mini oil mill with just a few essential tools and the willingness to learn from each batch you create.
Leave a Reply