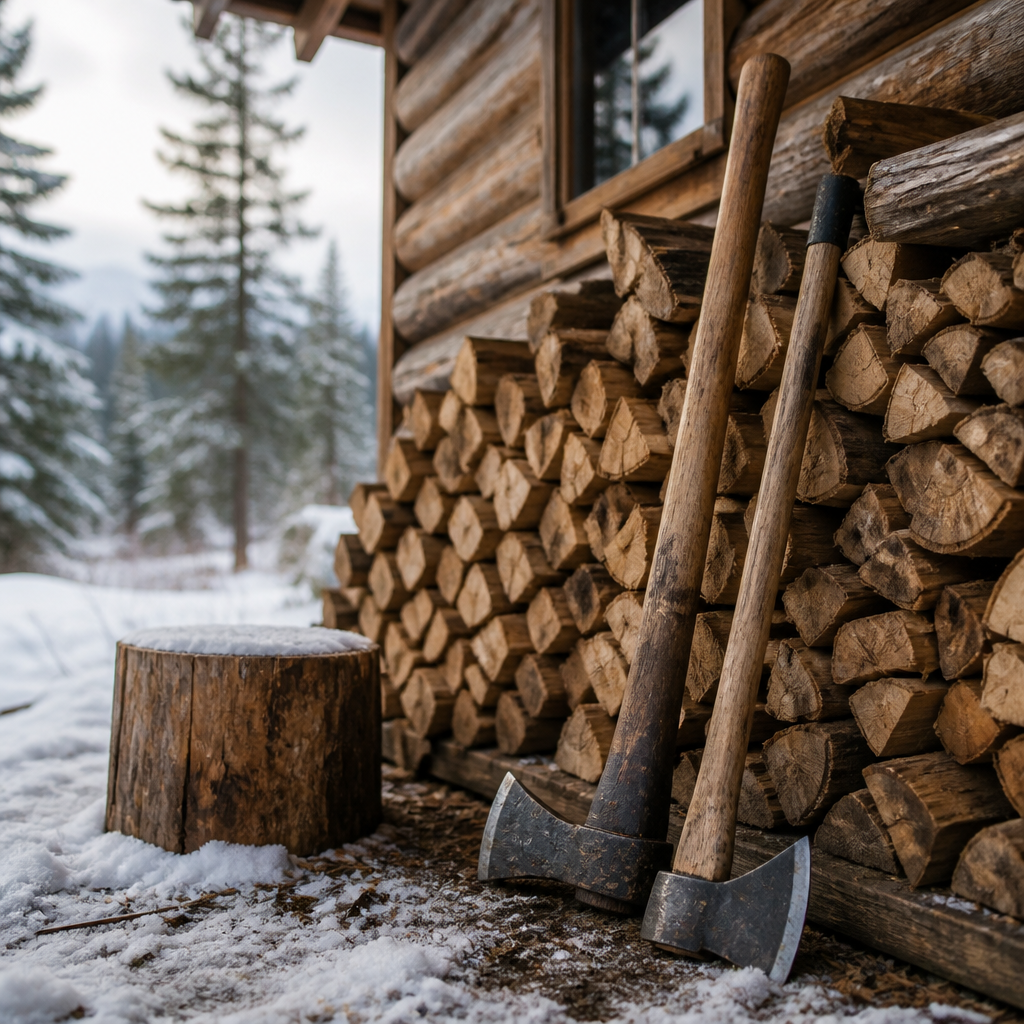
Frost is weeks away for most of Canada, and the question is whether your shed can still do the work when the battery is flat, the generator is out of fuel, or the ground has frozen solid. A solid set of off grid hand tools homestead routines depend on is a short list, not a catalogue. I have seen people spend heavily on gadgets and still lack a decent splitting maul or a file to keep their saw teeth cutting. This guide covers the tools I would want in place before the first hard freeze, why each one earns its spot, and where buyers usually go wrong.
Table of Contents
- Quick Takeaways
- Splitting Wood Without a Motor
- Saws That Run on Muscle
- Sharpening Kit That Keeps Everything Working
- Digging and Ground Work in Frozen Soil
- Hand Tools for Food Storage and Pantry Work
- Repair Kit and Storage Before Winter
- Comparing Splitting Tools: Axe, Maul, and Wedge
- Frequently Asked Questions
- References
Quick Takeaways
| Key Insight | Explanation |
|---|---|
| Buy a splitting maul first | Splitting takes the most time in winter wood processing, and a maul works without fuel or batteries. |
| Keep a sharpening kit with your saws | A dull blade costs more time than a missing tool, and a file and stone fit in one small tote. |
| Dig before the ground freezes | Frost locks soil within weeks, so trenching and drainage work belongs in early autumn. |
| Add a bow saw and a folding saw | Hand saws keep cutting when fuel runs out or the battery in your cordless tool goes flat. |
| Store tools dry and off the floor | Damp, not use, is what rusts steel and rots handles in a shed over a long winter. |
| Carry a repair kit with spare nails and handles | Cold weather repairs go faster when the parts are already on hand, not three days away. |
Splitting Wood Without a Motor
Splitting is where most winter fuel plans fall apart. If you heat with wood, the number of rounds you can turn into stove-ready splits in a weekend decides whether you are comfortable in January or sitting in one room under a blanket. Hand splitting is slower than a hydraulic splitter, but it never needs fuel, a belt, or a charged battery, and it works just as well on the first cold morning as it does in July.

In practice, you need two tools for splitting, not one. A felling axe handles limbing, starting cuts, and the odd round that has to be taken down by hand. A splitting maul is heavier and built to drive a wedge-shaped head through the grain, which is what you will be doing for most of the season. Buying one axe to do both jobs is the first mistake I see, and it usually ends with a dull edge, a cracked handle, or a split that wanders off the line.
Felling axe for limbing and starting cuts
A felling axe should feel balanced when you hold it near the end of the handle. Check the eye, where the head meets the handle, for hairline cracks, and make sure the wedge is seated tight. A straight-grained hickory or ash handle will outlast a cheap grip, although composite handles have their place for people who work in damp conditions.
Maul and wedges for the work you do every day
The splitting maul is the tool I reach for most. Its head is heavier than an axe head, and the flat face on the back lets you drive a steel wedge into a stubborn round when the maul alone bounces off. Keep the wedge in a dry place so it does not rust into the wood it is supposed to open.
Pro tip: Split on a sound, flat-topped chopping block at about knee height. Rounds that roll off the block cost you more time than any missed swing, and a steady block keeps the maul on target.
Good wood makes a mediocre maul look good, and no tool quality rescues a load of wet, knotty rounds.
Saws That Run on Muscle
A chainsaw is useful, but it is also a machine with fuel, bar oil, a spark plug, and a dependency on a working power source. A hand saw keeps you cutting when everything else has stopped. The two I would buy first are a bow saw for limbs and kindling and a folding pruning saw for brush along the property line and young trees you want to thin.
The trade-off is speed. A bow saw will not drop a large trunk in a few minutes, and that is fine for a household that needs the same steady volume of wood each winter. A rhythm with a hand saw usually adds up to less total effort than a machine that spends half its time waiting for repairs.
Bow saw for limbs and kindling
Look for a bow frame that holds tension without wobbling, and buy a blade you can swap easily. Keep a spare blade in the kit, because a snapped blade in the middle of a cut is a common way to lose an afternoon. Start each cut with a shallow kerf and keep the blade square to the branch so it does not walk sideways.
Folding pruning saw for brush and young growth
A folding saw with a tapered blade and a locking mechanism fits in a coat pocket and handles green wood without much force. It is the tool I carry on property walks in October, when I am checking which trees need dropping before the snow and which can wait until spring. Wipe the blade after each use, since sap left on the teeth will dull them faster than you expect.
Sharpening Kit That Keeps Everything Working
A dull tool is worse than a missing one, because you will avoid using it and then blame yourself for the slow pace. Every edged tool on a homestead needs a sharpening routine, and the kit should be small enough to store with the saws and axes so it actually gets used. If the file lives in the house and the saw lives in the shed, the saw will be dull by the first cold snap.
The core kit is simple: a triangular saw file, a medium whetstone, a flat file for shaping, and a leather strop. Together they cost less than a single good saw blade and will keep your whole collection cutting for years. Skip the gadgets with plastic guides that wear out quickly.
Files for saw teeth and chains
A triangular saw file matched to your saw’s tooth pitch is the most useful sharpening item you can buy. Clamp the blade in a vise, file each tooth at the angle its pattern calls for, and stop when the points are even. Wrong filing angles are the most common error I see. A file that cuts too aggressively leaves a saw that binds in the cut.
Whetstone, honing guide, and strop for axes and knives
For axes and knives, a medium-grit whetstone, a flat file for the initial shaping, and a leather strop give you a working edge in an evening. Keep the bevel consistent and support the head on a bench so the edge does not chip. A honing guide helps beginners hold the angle steady, and it is worth the small cost if you are learning on a tool you cannot easily replace.
Pro tip: Oil your sharpened tools lightly before you put them away. Damp sheds in autumn cause surface rust faster than most people expect, and rust pitted into an edge is much harder to remove than a dull spot.
Digging and Ground Work in Frozen Soil
Ground work is where hand tools earn their keep on a homestead that is not connected to any utility. Before frost locks the soil, you need to move gravel for a drainage ditch, dig a trench for a water line, and clear space for a root cellar entrance or a compost bin. Once the ground freezes, that window closes, and you will be reaching for a pick and a bar in the cold.
Plan your digging for early autumn. Soil that is still workable is far easier to move than soil that has hardened into a crust, and a sharp, clean shovel goes much further in damp clay. Weather can turn in a day, so schedule the heavy jobs for the first dry stretch you get.

Digging fork and round-point spade
A digging fork breaks up compacted soil without the flip-and-chop motion a spade needs, which makes it the better tool for heavy clay or for loosening a bed before planting garlic. A round-point spade suits trenching and moving loose material. Choose one with a solid, forged socket if you can, because a bent or cracked socket is a common failure in cheap spades.
Pick mattock for roots, rock, and frost
A pick mattock has a pick end for loosening stubborn ground and an adze end for chopping roots. It is heavy, and it is the tool that gets you through the first few inches of frozen topsoil when a spade bounces off. Let the weight of the head do the work rather than muscling the swing, which saves your shoulders for the next day’s jobs.
Hand Tools for Food Storage and Pantry Work
Winter food security depends on tools that process what you grew and store it without power. A hand-cranked grinder, a manual food mill, a sturdy cutting board, and a good knife will handle most of the work. These cost far less than a freezer you cannot run during an outage, and they keep working through a cold snap.
The goal is a kitchen that can preserve food without a grid connection. That means drying, fermenting, pickling, and root storage, all of which start with hand tools to prepare the produce. Choose tools with simple mechanisms, because a gadget that is hard to clean is a gadget that gets skipped.
Manual processing tools for produce
A hand-crank food mill turns cooked tomatoes and apples into sauce without a blender, and a manual slicer makes uniform cabbage for sauerkraut. Look for stainless steel blades and parts you can take apart for washing. Plastic gears tend to fail under the strain of dense produce, so check whether replacement parts are available before you buy.
Crocks, weights, and jar tools
Fermentation crocks need weights that keep vegetables under brine, and a jar lifter and lid wrench make canning safer with no electrical gear. Keep a spare set of lids and rings, since a dented lid or a chipped jar rim is a common reason a jar fails to seal. Follow a tested recipe for any canning process, because hand tools do not change the safety requirements.
Repair Kit and Storage Before Winter
Every tool on this list will eventually break, and the difference between a bad week and a minor delay is whether you have the parts and the tools to fix it on site. Keep a repair kit with the same care you give the tools themselves. Most field repairs are simple: a loose head, a split handle, a dull or broken blade, or a stuck nut.
Storage matters just as much. Damp is the enemy of steel and wood alike, so keep tools off the concrete floor, away from outside walls, and in a space where air can move. A member of an off-grid cabin discussion group on Facebook described sorting their collection into five-gallon bucket tool bags, a practical approach because each bucket can be carried to the job site as one unit.

Hammer, pry bar, and nail puller for frame and shed work
A claw hammer, a flat pry bar, and a nail puller handle most shed and cabin repairs. Check the claw for cracks and the pry bar tip for bending. Keep a spare box of common nails and a few lag screws in the kit, since you will be fixing things long before you can reach a hardware store.
Hand drill, brace, and screwdriver set
A hand drill and a set of bits can make pilot holes, mount brackets, and set screws without a cordless driver that may be flat when you need it. Choose screwdrivers with hardened tips and handles that stay secure when you are wearing cold gloves. Keep the set in a wall rack or tool roll so you can find the right size quickly.
Pro tip: Write a simple inventory of your tools and where each one lives, then tape a copy inside the shed door. Lost tools in deep snow are expensive to replace, and a list makes it easy to see what went missing before you leave the property.
Comparing Splitting Tools: Axe, Maul, and Wedge
Three splitting tools cover nearly every winter wood job on a small homestead, and each one fails in a predictable way when used for the wrong task. The table below compares them on their best use and their main drawback.
| Tool | Best Use | Main Drawback |
|---|---|---|
| Felling axe | Limbing, starting cuts, and light splitting of small rounds | Bounces off large or knotty rounds and tires the wrist quickly |
| Splitting maul | Driving through straight-grained rounds in volume | Heavy and awkward for delicate limbing work |
| Steel splitting wedge with sledge | Knotty, cracked, or twisted rounds where the maul stalls | Slower, and it needs a second tool to drive it |
Where each tool earns its keep
The felling axe is for the work before a round is ready to split. The maul takes over once you have a clean length of wood on the block. The wedge is what you reach for when the maul bounces off a knot, and in my experience it saves more frustrated afternoons than anything else on this list.
Keep the wedge and sledge in the same place as the maul. A wedge lost in the snow is no use, and a sledge also handles driving stakes for temporary fencing or a tarp frame when the ground is still soft enough to take them.
Which one to buy first
If you can only afford one splitting tool this autumn, buy the maul. It handles the largest share of winter fuel work and will carry you through the season while you build the rest of the kit. Add a felling axe once you know the wood species and round sizes you are dealing with, then buy the wedge and sledge when the knots start to win.
Frequently Asked Questions
What hand tools should I buy first for an off-grid homestead before winter?
Start with a splitting maul, a sharp felling axe, a bow saw with spare blades, and a triangular saw file. Those four cover most winter wood work and let you keep your tools sharp without electricity.
Are hand tools really enough to heat a home with wood?
For many small households, yes, provided the wood is split and seasoned early. Hand splitting is slow, so the real question is how much wood you need and how much time you can give to processing it. A hydraulic splitter can supplement hand tools, but it still needs fuel, so it should not replace them.
How do I stop hand tools from rusting in a damp shed?
Keep tools off the floor, store them where air can move, wipe them dry after each use, and apply a light coat of oil to bare metal. In very damp buildings, a sealed tool chest with desiccant packs also helps protect fine tools.
Should I buy cheap tools or quality tools for off-grid use?
Spend more on tools that carry load or hold an edge, such as axes, mauls, and saws. Cheap tools make sense for occasional jobs. Before you buy, check how the head attaches to the handle and whether replacement parts are available.
Can I preserve food with hand tools only?
Yes, for most methods used on a homestead, including drying, fermenting, pickling, and root storage. A hand-crank food mill and a manual slicer cover most of the processing. Always follow a tested recipe for canning, since the safety rules stay the same regardless of the tools you use.
Send me a note about the one hand tool you wish you had bought before your first winter, because your experience will shape what I test and write about next.
Leave a Reply