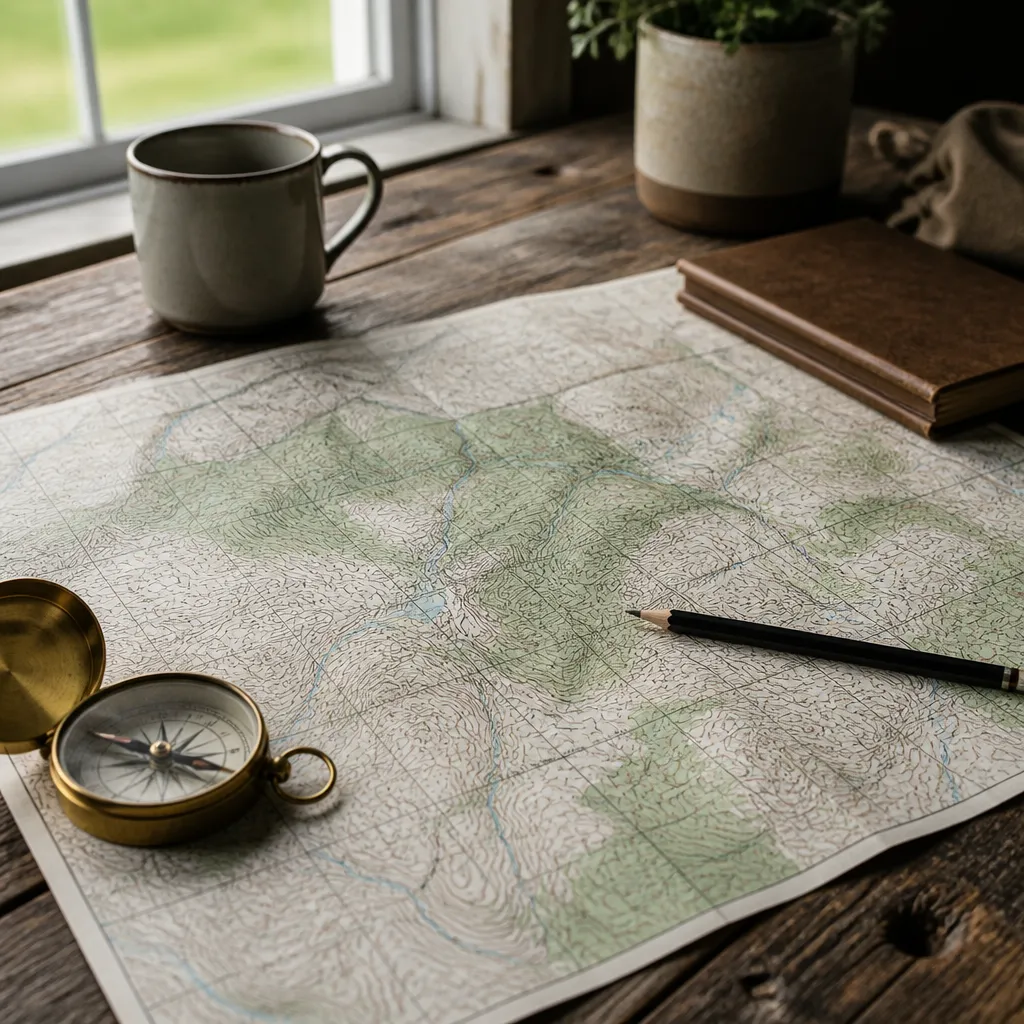
Most homestead land plans fail on paper before anyone walks the property. A driveway gets routed straight up a slope that washes out every spring, a well site ends up in a low spot that floods, or a trail loops back to a cliff nobody noticed. A topographic map shows you the shape of the land before you commit money, labour, or a chainsaw to it. This guide walks through how to read a topographic map for a homestead, using the map sheets and symbols you will actually encounter on Canadian land, and how to turn those lines into a trail plan you can follow in bad weather.
Table of Contents
- Quick Takeaways
- Getting the Right Map Sheet for Canadian Land
- Scale, Legends, and the Details Printed on the Sheet
- Reading Contour Lines Without Guessing
- Vegetation, Water, and Land Cover Symbols
- Planning Homestead Trails Around Slope and Water
- Comparing Map Workflows for Land Planning
- Field Testing Your Trail Plan
- Frequently Asked Questions
- References
Quick Takeaways
| Key Insight | Explanation |
|---|---|
| Check the map scale before anything else | A 1:50,000 sheet covers less ground with far more detail than a 1:250,000 sheet, so match the scale to the task. |
| Read the contour interval in the legend every time | The vertical gap between contour lines is not fixed across sheets, and assuming a value from another map leads to bad grade estimates. |
| Tight contour spacing means steep ground | Packed lines signal a fast rise, while wide spacing marks gentle terrain that suits a house pad, garden, or garage. |
| Trace water before placing wells, septic fields, or buildings | Drainage lines and closed depressions collect runoff, and a site in either place will stay wet through spring. |
| Use V-shaped contours to find drainage | Contour lines bend into a V that points uphill along valleys, so the point tells you where water runs. |
| Mark your route on the paper before you walk it | A pencil line and a set of bearings on a printed sheet will save hours of wandering in the bush. |
Getting the Right Map Sheet for Canadian Land
Before you can read anything, you need the right sheet, and in Canada that starts with the National Topographic System. Natural Resources Canada produces its topographic maps to this system, and they come in two standard scales, 1:50,000 and 1:250,000. Each mapsheet carries a unique number made of numbers and letters, and that number tells you where the sheet sits on the national grid.

In practice, a homestead plan almost always needs the 1:50,000 sheet. At that scale, a single sheet covers a block of ground small enough to show individual creeks, old fence lines, and the small knolls that decide where a barn pad or a septic field can go. The 1:250,000 sheet is useful for the bigger question of how you reach the property and which valleys connect to it, but it smooths out the detail you need for building and trail decisions.
Finding the mapsheet number for your property
Locate your property on the National Topographic System index maps first, then pull the matching sheet number. Mapsheet numbers are the fastest way to order or find a printed copy, so write the number in your property file before you start shopping. If your land straddles two sheets, buy both. Cutting a map at the boundary is how you end up missing a drainage that runs right along your fence line.
Natural Resources Canada lists several places to buy paper sheets, including map dealers, regional distribution centres, certified map printers, and topographic map depositories. A depository is often the cheapest route if you can reach one, and it is worth calling ahead to confirm the sheet you need is on the shelf.
Paper or digital: what each one is good for
Paper still wins for field work, because it can be folded into a pack and never needs a battery. Digital sources win when you need to measure, layer, or print a custom layout. The same agency also points to digital topographic raster maps covering 1944 to 2012 and digital topographic data, with maps built on the UTM projection, which matters if you move between a printed sheet and a GPS unit.
Historical sheets have their own uses. The USGS maintains a digital Historical Topographic Map Collection of maps originally printed between 1884 and 2006. Those sheets cover American land, so they only help on a Canadian property if your boundary sits near the border or an old trail crosses it, but they show how roads, clearings, and water courses have shifted over a century.
Scale, Legends, and the Details Printed on the Sheet
Every topographic sheet packs a lot of information into its margins, and most people skip it. The scale bar, the north arrow, the contour interval, and the legend are the parts that determine whether your measurements are right. Spend five minutes on the margins before you draw a single line on the map.
Converting scale into real distance
A scale of 1:50,000 means one unit on the map represents 50,000 of the same units on the ground. Use the printed scale bar rather than doing the arithmetic on the back of a receipt, because the bar stays proportional even if the sheet was photocopied at a different size. Measure a winding trail with a piece of string laid along the centreline, then lay the string against the scale bar. A ruler laid straight across a switchback will underestimate the distance badly.
The contour interval and the legend
The contour interval is the vertical distance between neighbouring contour lines, and it is printed in the legend. Do not assume a number from another sheet. Two maps at the same scale can use different intervals, so a line that looks like a small hump on one sheet might represent a much larger rise on another. Read the legend every time you change sheets.
The legend also tells you which symbols mean what on that particular edition. Roads, trails, power lines, buildings, and boundaries each have their own code, and editions get revised. A road that appears on an older printing may have been decommissioned, and a clearing on the sheet may now be grown in. Treat the map as a dated snapshot, not a current survey.
Pro tip: Photocopy or scan your sheet at 100 percent before marking it up, and keep the original clean. You can test your string measurements against the copy later without wearing down the printed legend.
Reading Contour Lines Without Guessing
Contour lines are the part of a topographic map that most beginners find confusing, and they matter most for a homestead. Each line joins points of equal elevation. Once you know what the lines are saying, you can judge a slope, find a likely spring, and spot a flat building site from the kitchen table.

Index contours and counting up from the bottom
On most sheets, every fifth contour line is drawn heavier and labelled with its elevation. These index contours save you from counting every line, but they only give you a reference point. To find the elevation of any line, start at a labelled index contour and count up or down in steps of the contour interval. Counting from the valley floor is a good habit, because it keeps you from misreading a hilltop as a depression.
Spacing tells you how steep the ground is
Closely packed contour lines mean the ground rises quickly, while widely spaced lines mean a gentle grade. A slope that looks gentle on a map can still be too steep to drive a tractor across, so use the spacing as a first filter, not a final answer. Flat ground with wide spacing is where you put a house, a garden, and a garage. Dense spacing is where a trail needs switchbacks, if it can go there at all.
Contour lines are a promise about elevation. The closer they sit together, the more work the ground will ask of your legs, your equipment, and your water pipes.
Ridges, valleys, and saddles
Contours bend into a V where a stream cuts a valley, and the point of the V aims uphill, toward the high ground. Ridges form the opposite pattern, with nested U or horseshoe shapes whose open ends face uphill and whose points aim downhill. A saddle, the low point between two high spots, appears as an hourglass pattern of contours. Learning these three shapes gives you the skeleton of the land before you look at any detail.
On a homestead, the valleys are your drainage and your possible water source, while the ridges are often your best dry ground. A saddle is a natural place for a road or trail to cross a ridge with less climbing. In my experience, the first thing to check on any new parcel is which way the V shapes point, because that tells you where the water will run in spring.
Vegetation, Water, and Land Cover Symbols
Contours tell you the shape of the land, but the colour and symbol layers tell you what covers it. Those layers matter for clearing, firewood, wildlife, and the moisture you will find underfoot. REI’s guide to topo maps notes that green generally indicates denser vegetation, lighter or colourless areas suggest open terrain, and streams and lakes are shown in blue.
Water features and wet ground
Blue lines on a topographic sheet mark streams and lakes, but they do not show everything that holds water. Seasonal creeks, springs, and wet meadows may appear faintly or not at all, especially on older editions. Look for drainage lines that start in a V of contours with no blue line, and mark them as possible wet ground. Those spots are where your spring thaw problems begin.
Keep wells, septic fields, and outbuildings out of low drainage lines and out of the flat bottoms of closed contour rings. A closed ring of contours with no outlet is a depression that collects runoff, and a building there will sit in standing water every April. Check local health and building setback rules as well, because the map cannot tell you what your municipality requires.
Clearings, meadows, and forest edges
Open ground on a map often means a meadow, a burn, or a field that was cleared decades ago. Those open patches make good garden, pasture, or yard sites, but they can also hide rock outcrops or soft ground that a simple symbol does not capture. Forest edges are useful because they mark where wind, sun, and access change. A trail that follows an edge usually stays drier and easier to follow than one cutting through the middle of a dense stand.
Planning Homestead Trails Around Slope and Water
A trail that looks direct on a map can be miserable on the ground. The map gives you the route’s bones, but you still need to judge grade, crossings, and drainage before you swing a machete. The aim is a loop or spur that you can walk, haul firewood along, or push a wheelbarrow over in a wet spring without a fight.
Grade limits for walking and hauling
Count the contour crossings along your intended line. A trail that crosses many contour lines in a short distance is climbing steeply, and the steeper the climb, the more erosion you will fight. Plan sustained grades gentle enough that a loaded wheelbarrow can climb without a rest, and bring the trail in on diagonals rather than straight up the fall line. Mark the diagonal bends on the sheet so you can find them again in fog.
Crossings and drainage
Every blue line your trail touches is a crossing decision. Look for places where the stream narrows between two firm banks, because the narrow spot often has solid ground for a culvert or footbridge. Wide, flat crossings usually mean soft bottoms and spring flooding. A trail that dips to meet a stream at its lowest point will channel runoff straight down the tread, so route it along a bench above the water when you can.
Switchbacks and access for vehicles
Switchbacks show up on a map as tight zigzags set against the contours. If you need a vehicle road, look for saddles and gentle benches first, because a road through a saddle often needs less cut and fill than one forced up a steep face. Cross-check the planned road against the contour spacing, and remember that a road you can drive on a dry day may become a mud trap in a wet season.
Comparing Map Workflows for Land Planning
There is no single right way to work with a topographic map. Some homesteaders carry a printed sheet and a pencil, others plot everything in a digital layer and print the result at the end, and many end up using both. The table below compares three approaches, with notes on where each one fails.

| Workflow | Best use | Main drawback |
|---|---|---|
| Printed NTS sheet with pencil markup | Walking the property and marking trail lines in the field | Paper warps when wet, and precise measurement requires a scale bar and a steady hand |
| Digital raster map or GIS export with layers | Measuring grades and comparing contour, water, and vegetation layers | Needs power, and printouts can drift from true scale if you do not check the scale bar |
| Printed sheet plus a GPS track log | Recording where you actually walked and returning to a known route | GPS accuracy varies with canopy and terrain, so the track must be checked against the printed contours |
My recommendation is the third option: plan on paper, log the walk on a GPS, and reconcile the two when you get home. Paper gives you the judgment calls, and the track gives you the evidence. Neither one is reliable alone in dense bush.
Field Testing Your Trail Plan
A map plan is a hypothesis until you walk it. Expect at least a few spots where the ground disagrees with the sheet, and treat those disagreements as data rather than failures. Walking the route with the map in hand is the only way to confirm grades, crossings, and sight lines.
Walking a bearing on the ground
Set a bearing from one identifiable feature to the next, then walk it with a compass and count your paces. This keeps you honest when a dense stand of trees makes the trail invisible. Note any spot where the route crosses a contour you did not expect, because it probably marks a small rise or depression the sheet missed.
Common mistakes that waste a season
The most common mistake is treating the blue lines as a complete inventory of water. The second is laying out a trail in the dry season and never checking it after the spring melt. A third is marking a route along an old road symbol and building on the assumption that the road still exists. Walk the route in the wettest month you can, and walk it again in the driest.
Pro tip: Carry a pencil and a spare sheet of paper for field notes. A waterproof page with your bearings and pace counts is worth more than a phone screen when the battery fails halfway through a loop.
Pro tip: Photograph the trail marks and the map at each junction. Those photos become a reference when you return in winter and the snow has erased the path.
Frequently Asked Questions
Which topographic map scale is best for a homestead?
The 1:50,000 scale is the usual choice for a homestead because it shows individual creeks, small knolls, and property-level features. Keep a 1:250,000 sheet for regional access planning, since it covers far more ground but leaves out the detail you need for building and trail decisions.
How do I find the contour interval on my map?
Check the legend printed on the sheet. The contour interval is stated there, and it can differ between editions and sheets, so never assume the value from a previous map.
Can I use an old topographic map to plan a current trail?
You can, but treat it as a starting point. Older sheets show how the land looked when they were printed, so roads, clearings, and water courses may have changed. Confirm every feature on the ground before you commit to a route.
How do I tell a ridge from a valley on a topo map?
Look at the shape of the contour lines. Valleys and stream channels show V shapes whose points aim uphill, while ridges show nested U shapes whose points aim downhill. Check the blue lines and elevation labels to confirm which is which.
Is a digital map enough for off-grid trail planning?
A digital map is useful for measuring and layering, but it depends on power and can mislead you if printed at the wrong scale. In my experience, the best setup is a paper sheet in the field, backed by a GPS track log that records where you actually walked.
Tell us in the comments which contour pattern gave you the most trouble on your own land, and how reading it changed your build or trail plan.
We would love your feedback and any insights you would share with others. What perspective would you add?
References
- Natural Resources Canada guide to topographic map scales and sources
- Expert guide to reading topo map colours and symbols
- USGS collection of historical topographic maps
- Backpacking guide to topographic map types, sources, and formats
Leave a Reply